Making my Photo Collection Searchable by Keywords
Since I had to cancel most of my travel plans this year due to the Corona pandemic I spent a lot of time browsing through and editing photos from previous vacations. While this activity gave me at least a bit of a holiday feeling it also gave me an idea for a nice little computer vision project.
My photo collection is organised into a number of chronologically ordered folders, with each vacation or event residing in a separate directory. And this structure also largely dictates how I usually browse through my photo collection: Looking at the pictures from each vacation separately.
What if instead of doing that it would be possible to browse through the photos in a different way? For example, wouldn’t it be nice to look at all the pictures of beaches I have visited during all my vacations? Or the restaurants I have eaten at? Or the bottles of beer I drank?
That should make for an interesting and novel way to look at at my photos.
Neural Networks for Object Dection
After thinking about this idea for a while I realised that it should be easy to implement this functionality with a neural network that was trained for object recognition tasks. Such a network could be used to make predictions on all the images in my photo collection and the resulting predictions (i. e. “What does the model think is shown in the photo?”) could be used to assign keywords to each picture.
However, training such a model from scratch requires two things that are not readily available to me:
- a large labeled set of training data
- lots of computational power (typically in the form of specialised GPU or TPU hardware)
While the second point may be solved by spending a bit of money on renting infrastructure in AWS or Google Cloud Platform the first point poses a much bigger problem.
I could potentially go through my photos and try to label them manually but this process would somehow defeat the purpose of this project. Furthermore it is questionable whether I could generate a training dataset of sufficient size and quality this way in a reasonable amount of time.
Fortunately there are already models out there that have been trained on huge datasets some of which are available through the PyTorch torchvision model zoo.
For our project we will use the ResNet-152 model which was trained on the ImageNet dataset which contains around 1.28 million images of 1,000 different objects.
With the pre-trained model the keywords we will be able to assign to our images will be restricted to the labels that were used during the original training. However, this is not necessarily a severe restriction as the original dataset contains a vast variety of different objects such as ambulances, kimonos, iPods, toilet seats or stingrays (the full list can be found here). With this diverse list of keywords we should still be able to make some interesting queries against our photo collection.
Another restriction we should be aware of is that the performance of the ResNet model on the ImageNet dataset may not translate to my personal photo collection. Especially if the images in the two datasets are fundamentally different in some way (e.g. different angles, lighting etc.).
Also most images in the ImageNet dataset seem to consist of images which only show one particular object while many of my photos contain a composition of several objects or people. It will be interesting to see how the model performs in these situations.
Implementation
To implement this project I decided to split it into two components:
- Generating the keyword database: Loading the model, predicting on the images, writing out the predicted labels
- The frontend: Loading the database and querying it in different ways, visualising the results
Splitting the application into those two components should facilitate future development in case I decide to dedicate more time to this project.
Creating the Keyword Database: A Python Command Line Application
To extract the labels from the model for each photo I decided to write a Python command line application with a simple overall logic:
- Read the pre-trained model from the PyTorch model zoo
- Load in and transform the images from the target directory
- Extract the labels (predictions) from the model for each image
- Write the labels to a file
One important thing to note here is that in order to run the images through the ResNet model they need to be transformed in a specific way. For example, the images in my photo collection tend to have a relatively high resolution (e.g. 3000x4000 pixels) while the ResNet model expects the images to have a resolution of 224x224. In addition to that the color channels need to be normalised to make sure they are aligned with what the model is used to from the training process.
The following Python code combines the required pre-processing steps into one transformation that can be applied to the images when they are loaded and before they are passed to the model (see here for more information about these transformations):
from torchvision import transforms

data_transform = transforms.Compose(
    [
        transforms.Resize(224),
        transforms.CenterCrop(224),
        transforms.ToTensor(),
        transforms.Normalize([0.485, 0.456, 0.406], [0.229, 0.224, 0.225]),
    ]
)
The application takes several command line parameters such as the directory in which to look for the images or the number of labels to extract for each image. The full code for the CLI application along with the definition of the parameters can be found here.
The application can be executed from the terminal by running the following command:
python build_semantic_database.py --imagedir=images --numtoplabels=5An example of the output of the application is shown below:

As can be seen from the screenshot above it takes around 11 minutes on my machine to process a sample of around 4100 images from my photo collection.
When the process has finished a Pandas dataframe which contains the extracted labels for each photo will be written out as a pickle file. We will show how this file can be queried in the next section.
Querying the Database: A Jupyter Notebook
The structure of the dataframe we created above looks as follows:
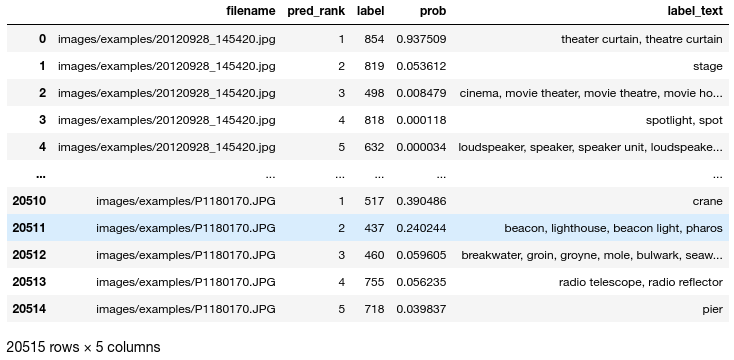
Each row contains the filename of an image and a keyword that it was tagged with. For each image file there are five keywords and they are sorted by the probability that the neural network assigned to them.
To query this database and analyse the results of the neural network a bit more in-depth I wrote a Jupyter Notebook file to serve as the “frontend” for the application.
The core of this frontend will be a a function that displays an image along with the labels that were predicted by the neural network. An example output of this function is shown below:
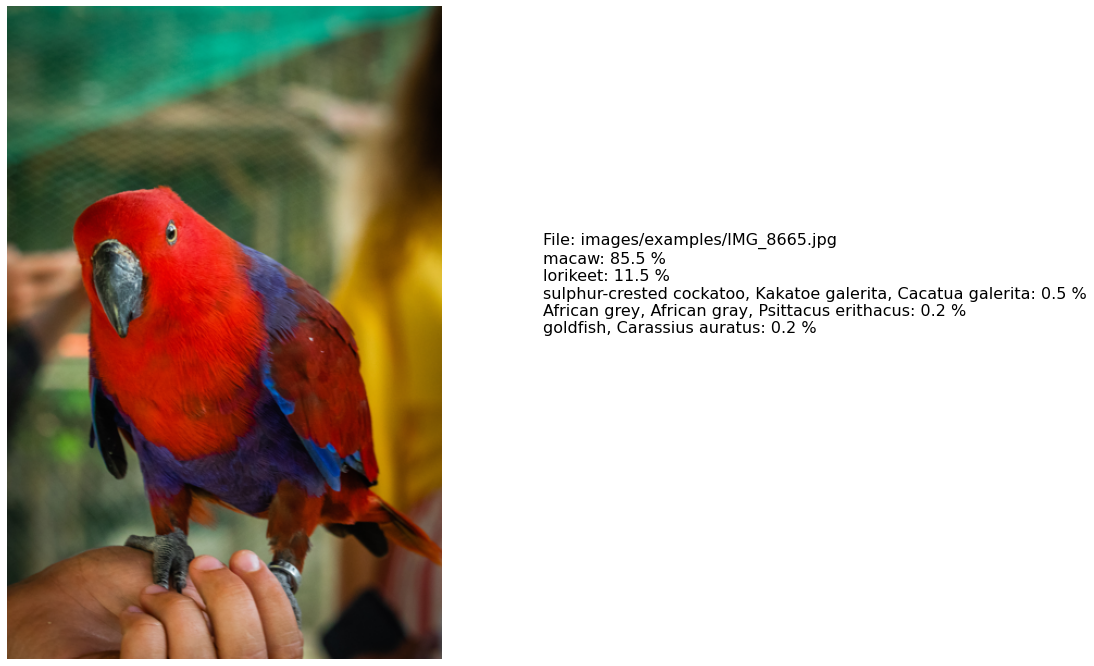
On the left side it shows the specified image and on the right side the labels along with their predicted probabilities from the neural network. In this case the neural network assigns a probability of 85.5 % that the image is showing a macaw (I am not sure whether the bird is actually a macaw but at least it does not seem to be far off).
The function is implemented as a simple Matplotlib subplot where the left-hand plot uses the imshow function and the right box is filled with a text object:
def plot_image_with_labels(image: PILImage, labels: dict, full_path: bool = False) -> None:
    """ Plot an image alongside its associated labels

    Args:
        image (PILImage): The image to plot
        labels (dict): Dictionary containing the labels with their predicted probability
        full_path (bool): Flag indicating whether the full path or just the filename should be displayed
    """
    fig = plt.figure(figsize=(16, 12))
    ax1 = fig.add_subplot(1, 6, (1, 4))
    ax1.set_axis_off()
    ax1.imshow(image)

    ax2 = fig.add_subplot(1, 6, (5, 6))
    if full_path:
        labels_text = "File: " + image.filename + "\n"
    else:
        labels_text = "File: " + "[...]/" + image.filename.split("/")[-1] + "\n"
    labels_text = labels_text + "\n".join(
        [k + ": " + str(round(100 * v, 1)) + " %" for k, v in labels.items()]
    )
    ax2.set_axis_off()
    ax2.text(0, 0.5, labels_text, fontsize=16)
Apart from this function the frontend code mostly consists of functions that implement different ways of querying the database and combining the images and the labels in a convenient format for plotting. The notebook to reproduce the results that will be presented in the next section can be found here.
Results
I explored different ways to query the database through the Jupyter notebook to get an idea of how well the neural network does at detecting objects in my photo collection. In the next sections I will present some of the results I have seen.
Querying the Top Images for a Given Label
As described in the beginning of this blog post my main motivation for this project was to query my photo collection for all images containing a given object. This functionality is implemented in the Jupyter notebook by querying the keyword database with a specified label and visualising the images that have the highest predicted probability for that given label.
Below are some examples for the results we get with this approach.
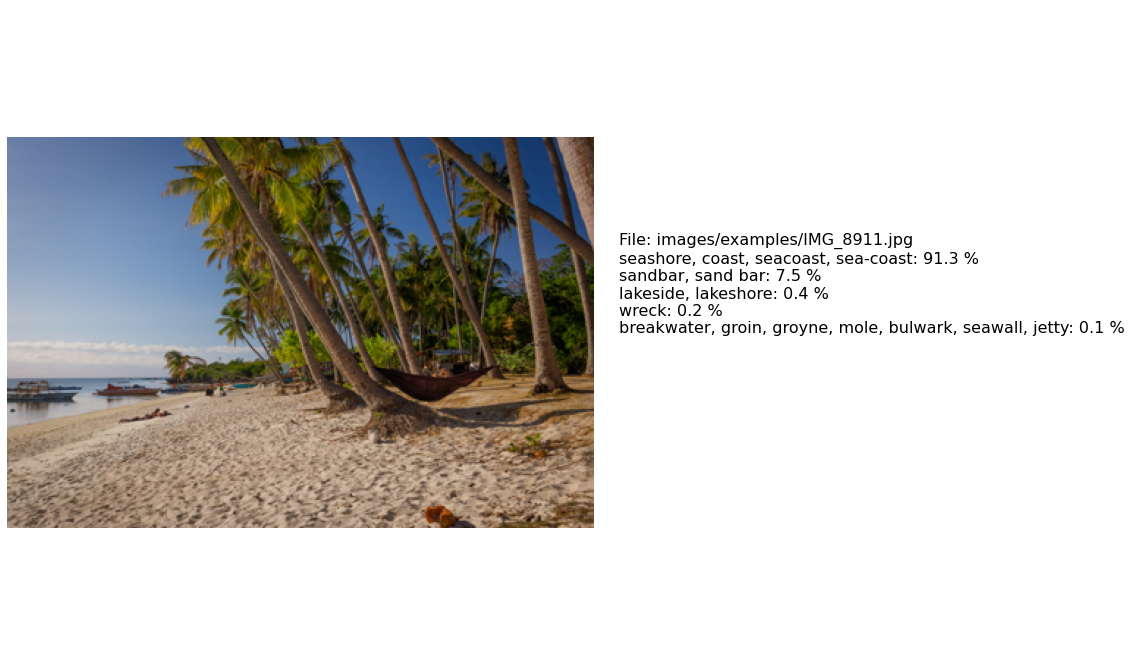
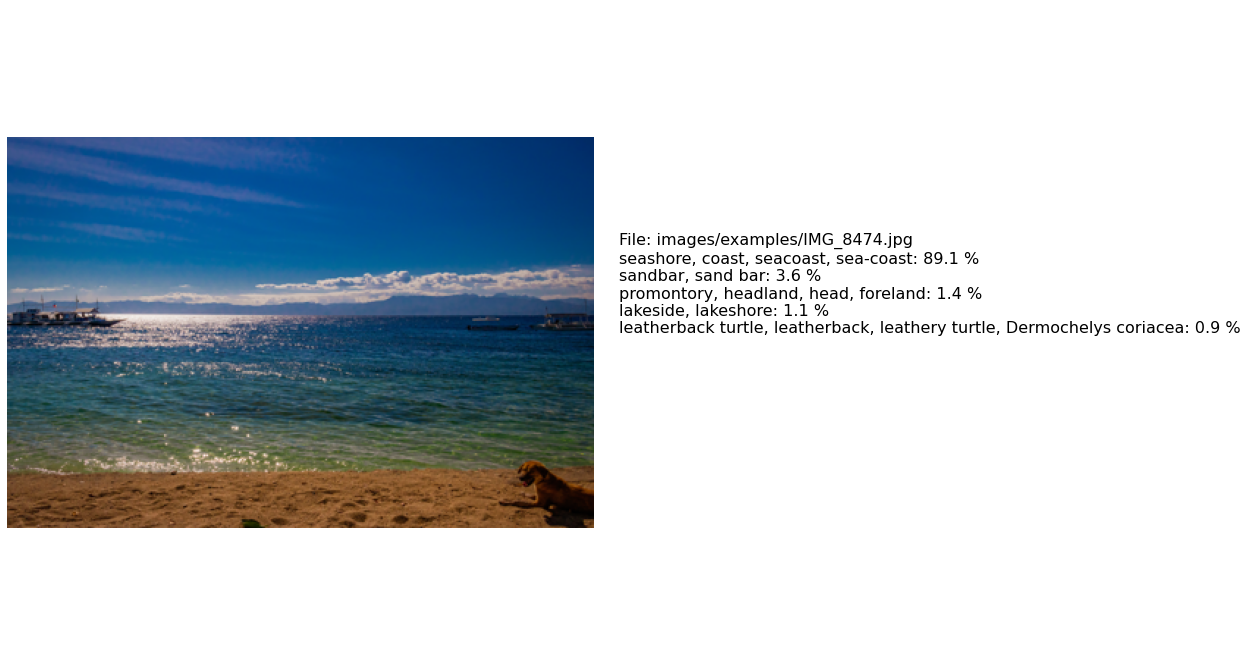
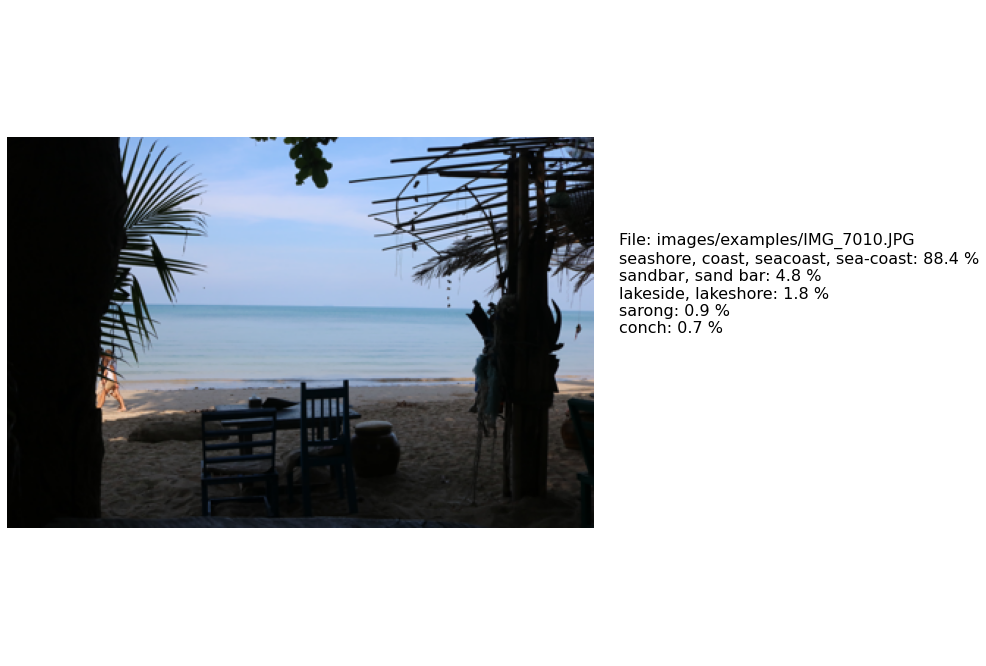
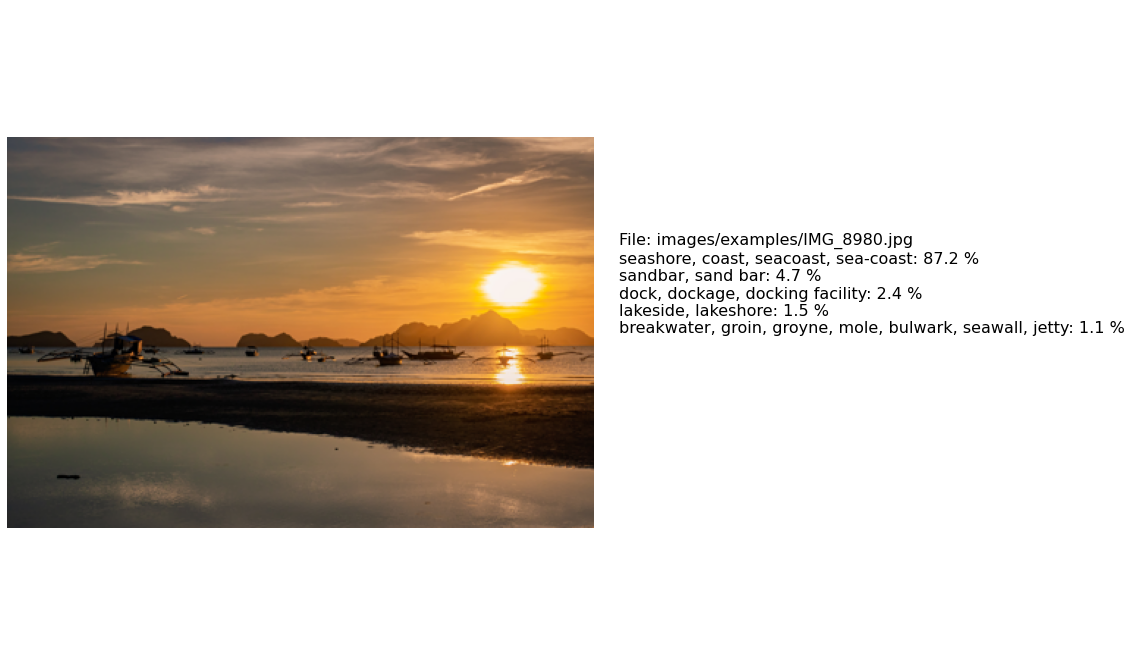
Top Images for Label: “seashore, coast, seacoast, sea-coast”
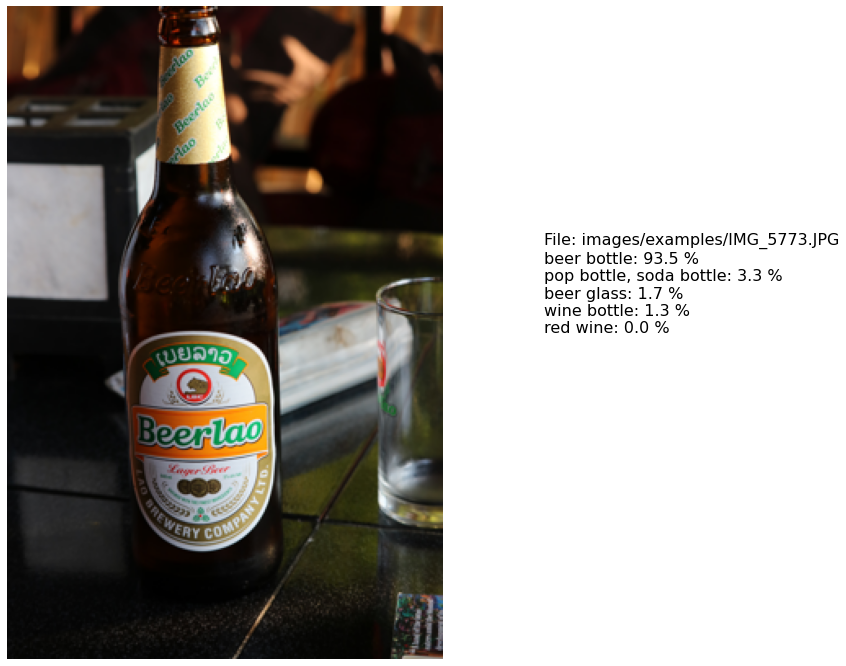
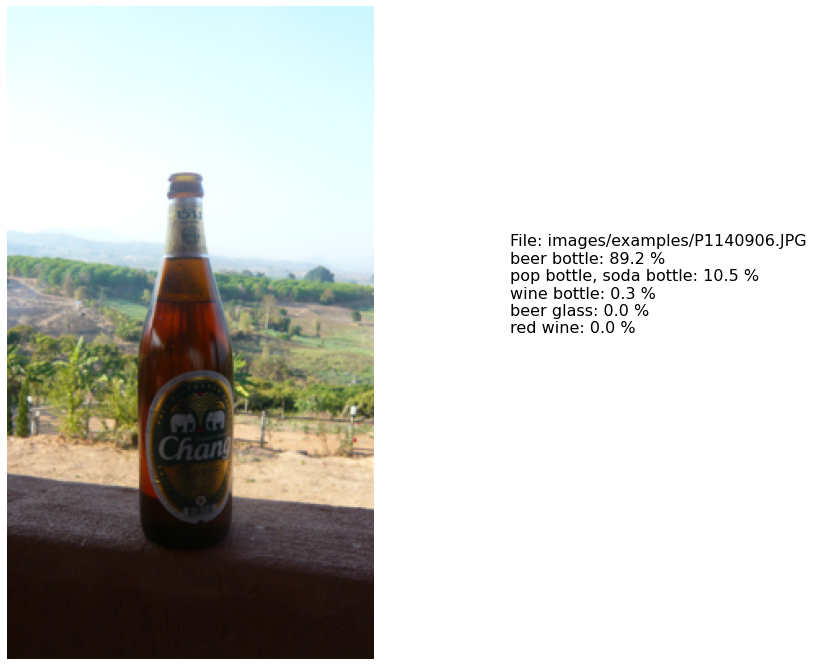
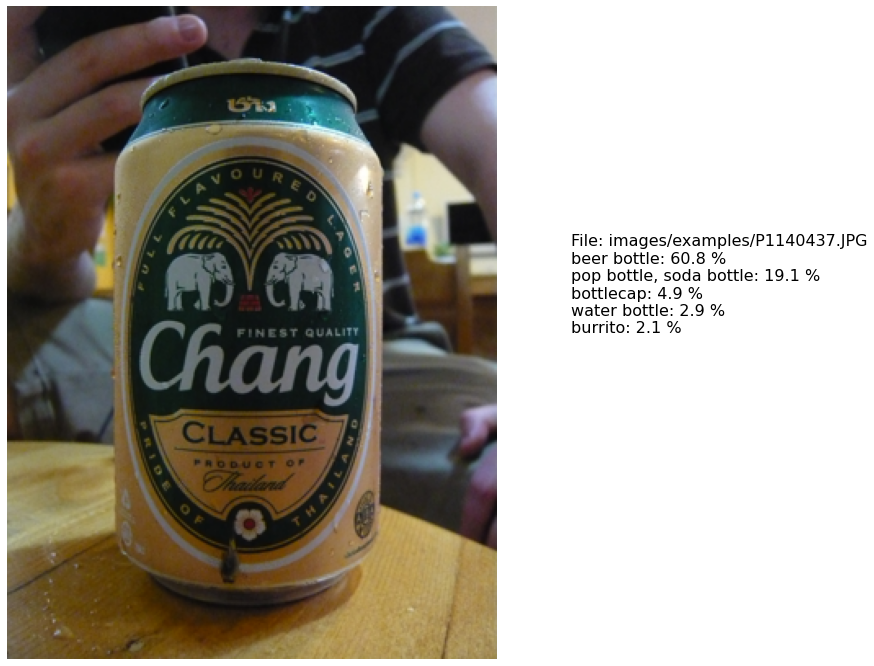
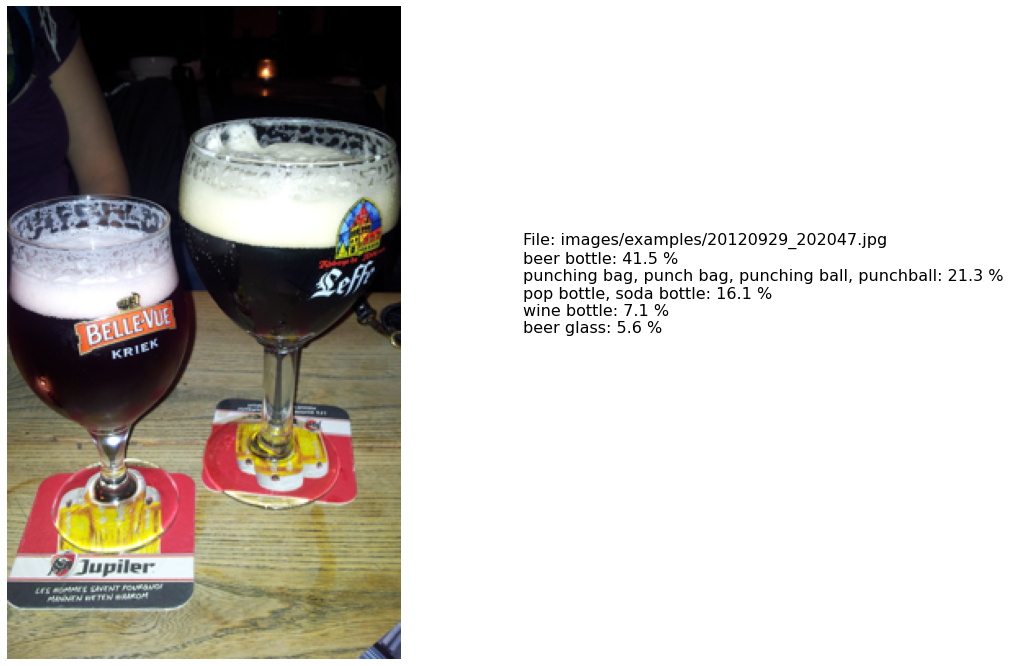
Top Images for Label: “beer bootle”
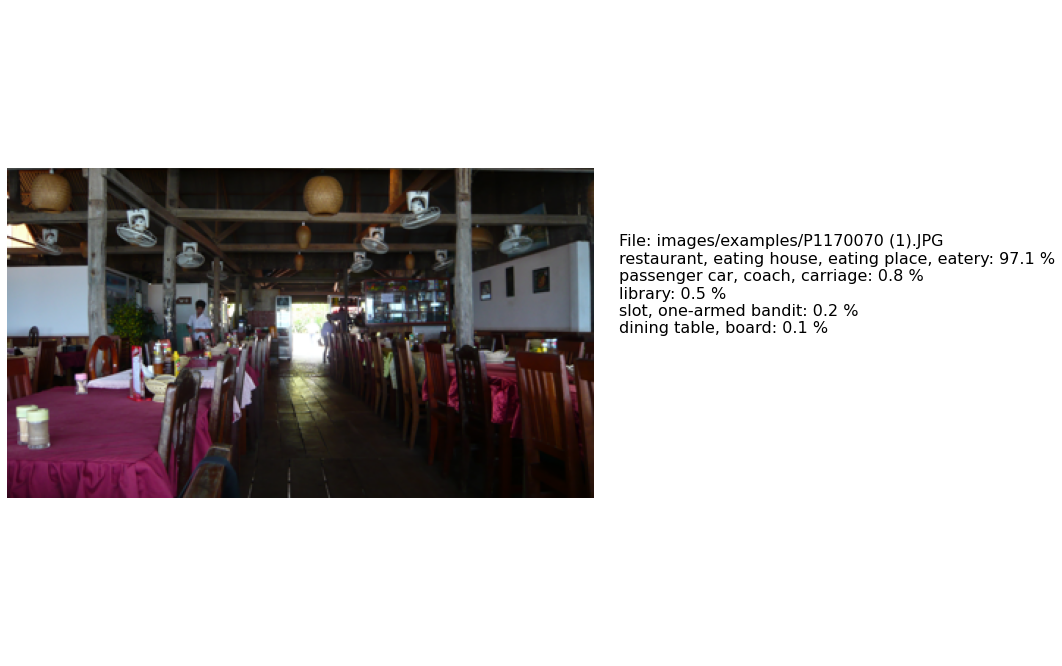
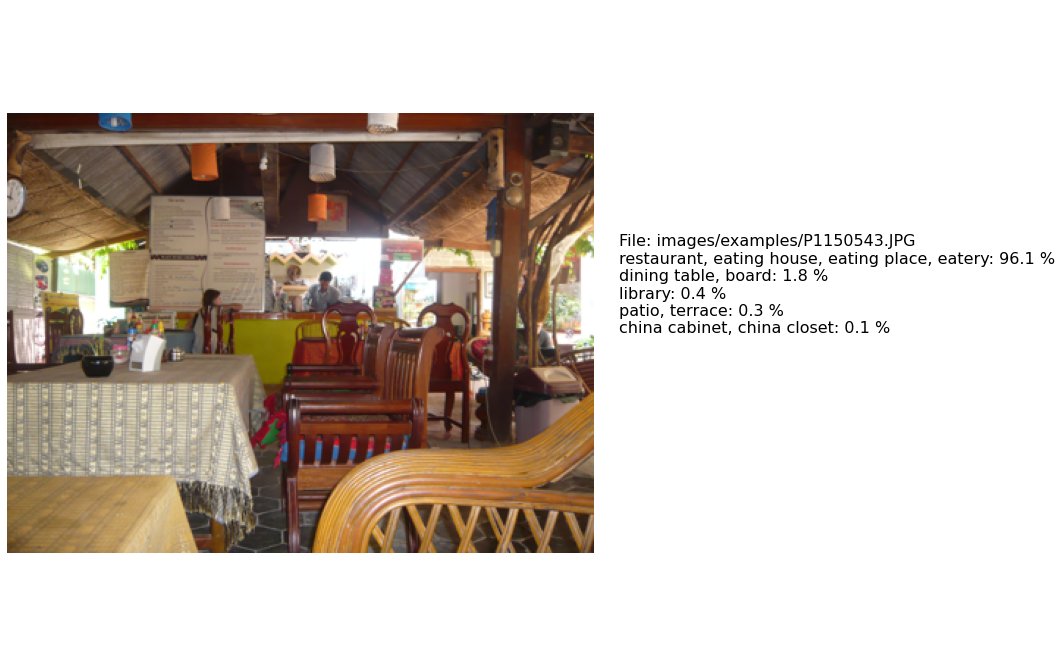
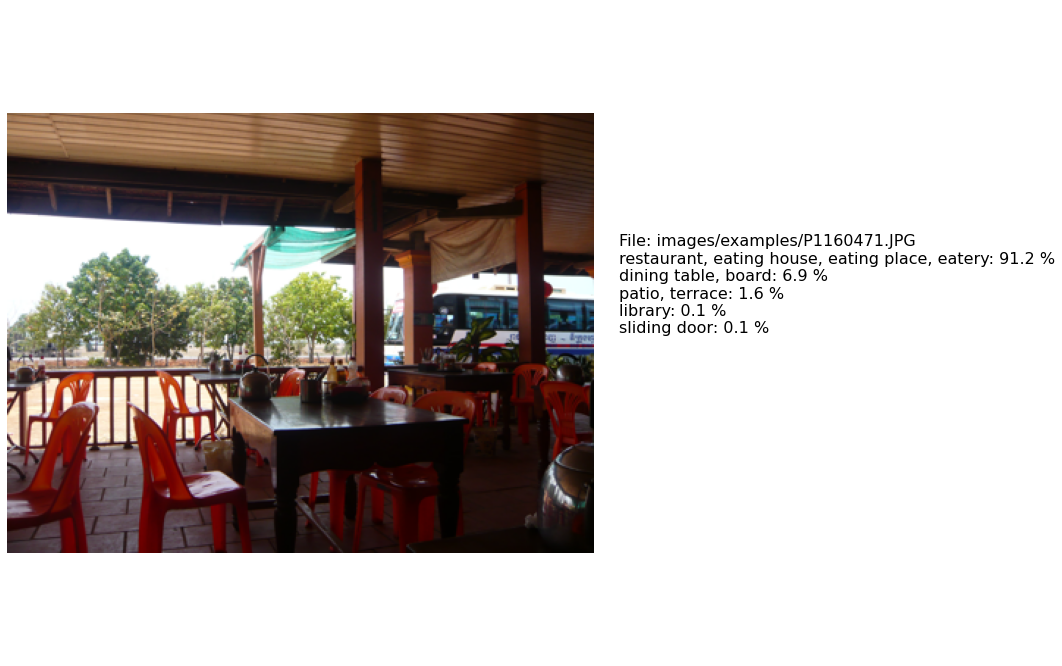
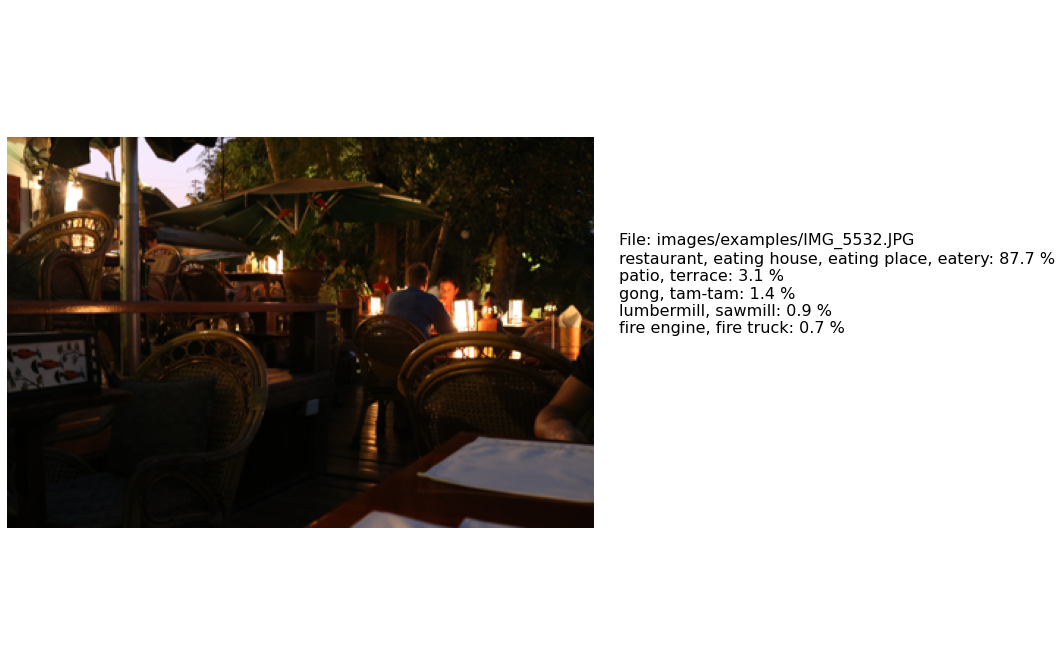
Top Images for Label: “restaurant, eating house, eating place, eatery”
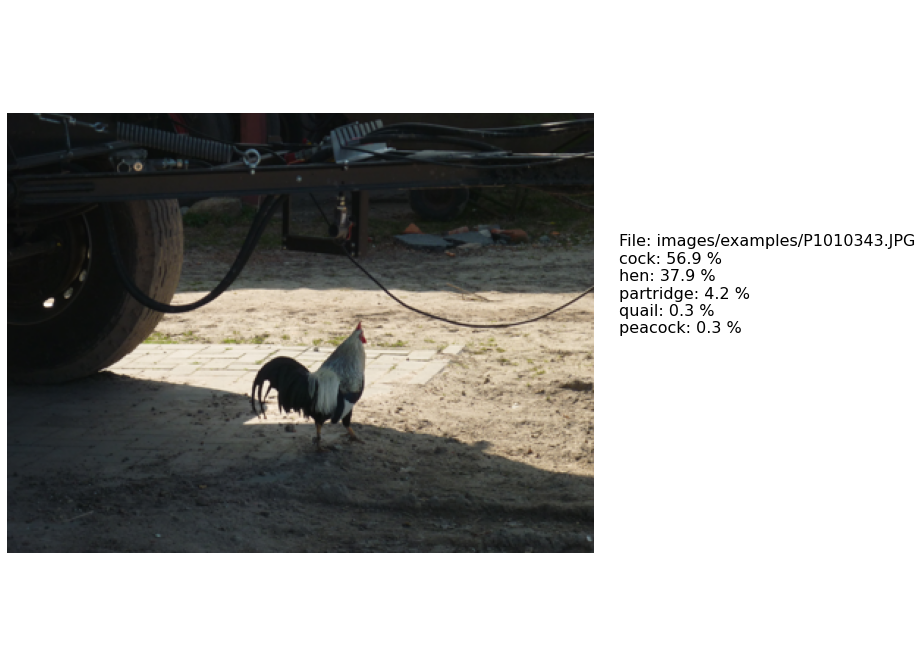
Top Images for Label: “cock”
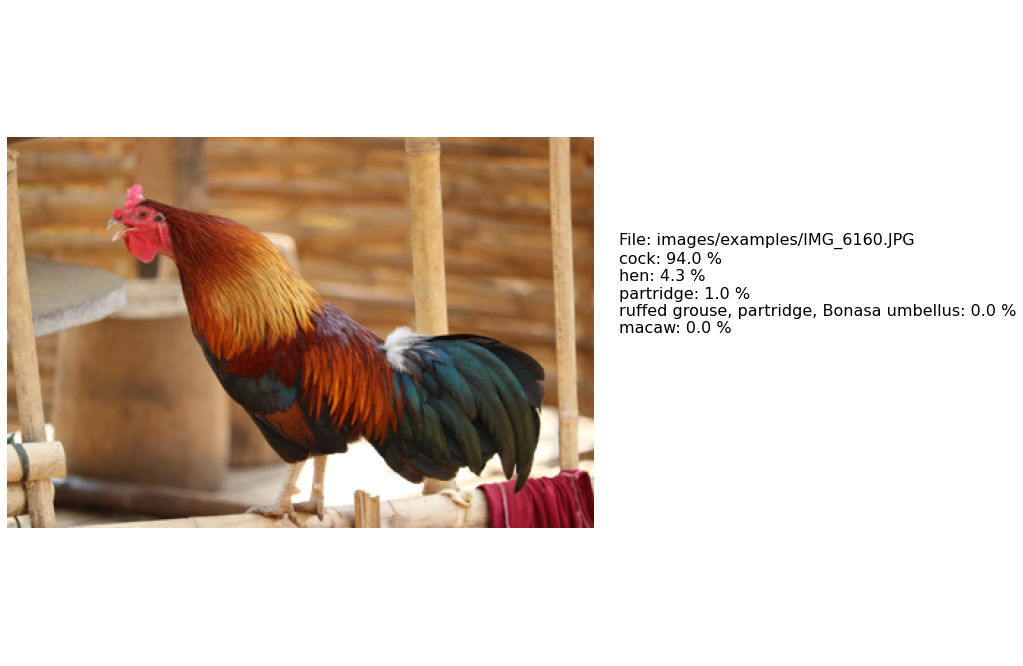
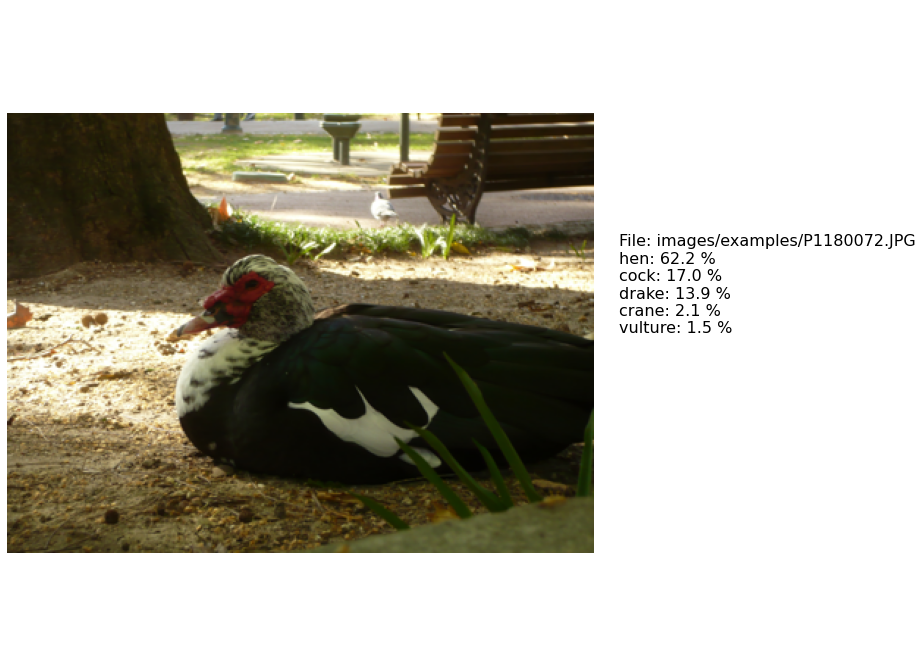

Overall the results look pretty convincing. The only exceptions being maybe the third and fourth picture in the beer bottle category which are actually showing a can of beer and glasses of beer respectively.
Also the third photo in the cock category seems to be showing a duck rather than a cock (however, it should be said that the model actually only assigns a 17 % probability for this image to show a cock).
It’s also interesting to see that the neural network does not seem to have a big issue with the poor lighting in the last picture in that category and successfully identifies the chicken in the shadow.
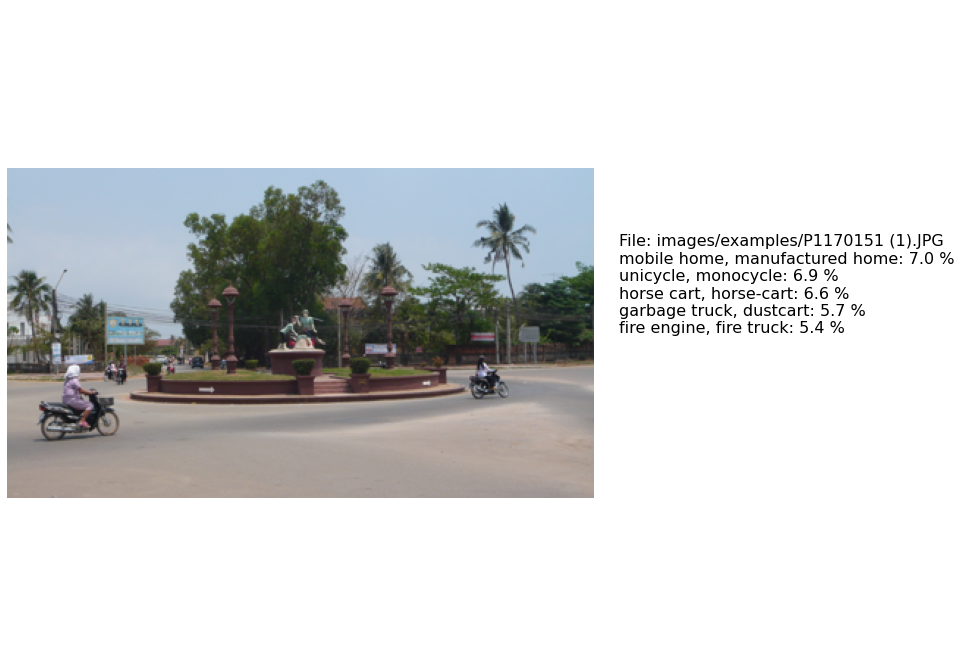
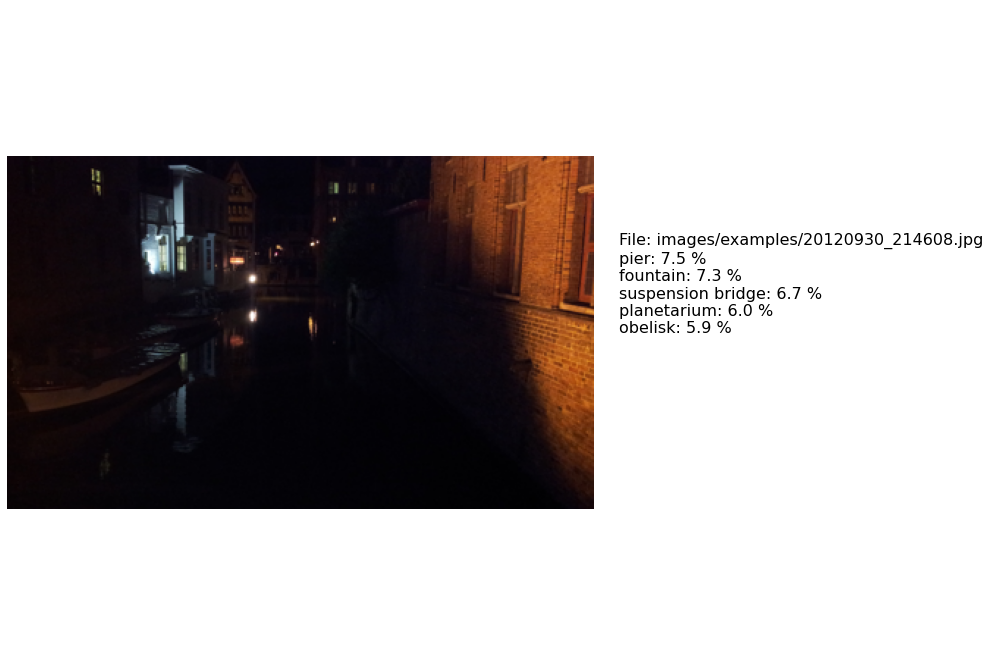
Querying Labels for Random Images
As mentioned before the results for the keywords we presented above look convincing. However, the way we query the database above is designed to give us images for which the neural network has high confidence in its predictions and might therefore have a tendency to produce clear cases.
To get a bit of a more general impression of the predictions of the model it might therefore be interesting to browse the photo collection more randomly. Therefore, below we show the results for a more or less random selection of photos from my collection:
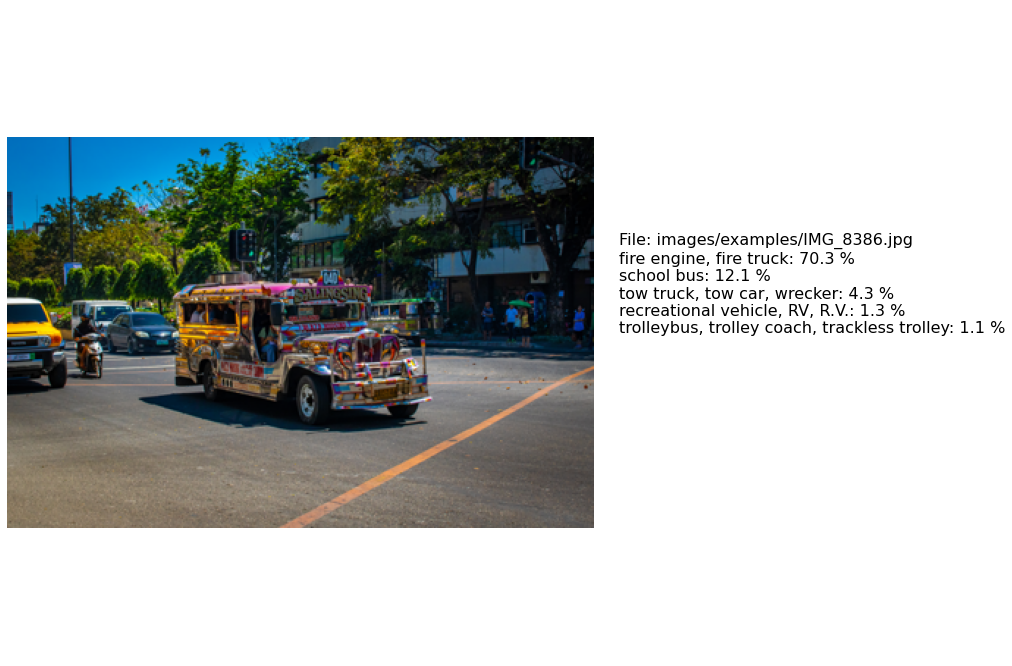
Here we can see that the neural network is mistaking the colorful Jeepney for a fire truck or a school bus. In the ImageNet dataset there is no category for this specific type of Filipino passenger bus which is why the model seems to fall back on the closest thing it has seen during the model training.
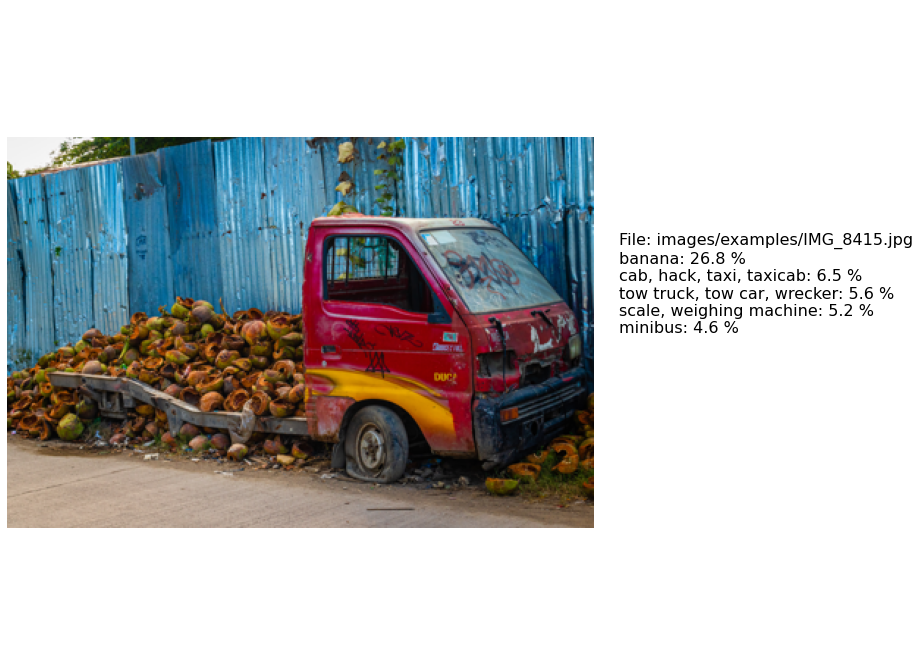
For the second image the top ranking label is “banana” even though there are no bananas in the picture. It might be interesting to analyse where in the picture the neural network has identified a banana. It would probably not be surprising if it mistook the yellow paint on the truck door as a banana.
Another interesting case is the picture of the butterfly below:
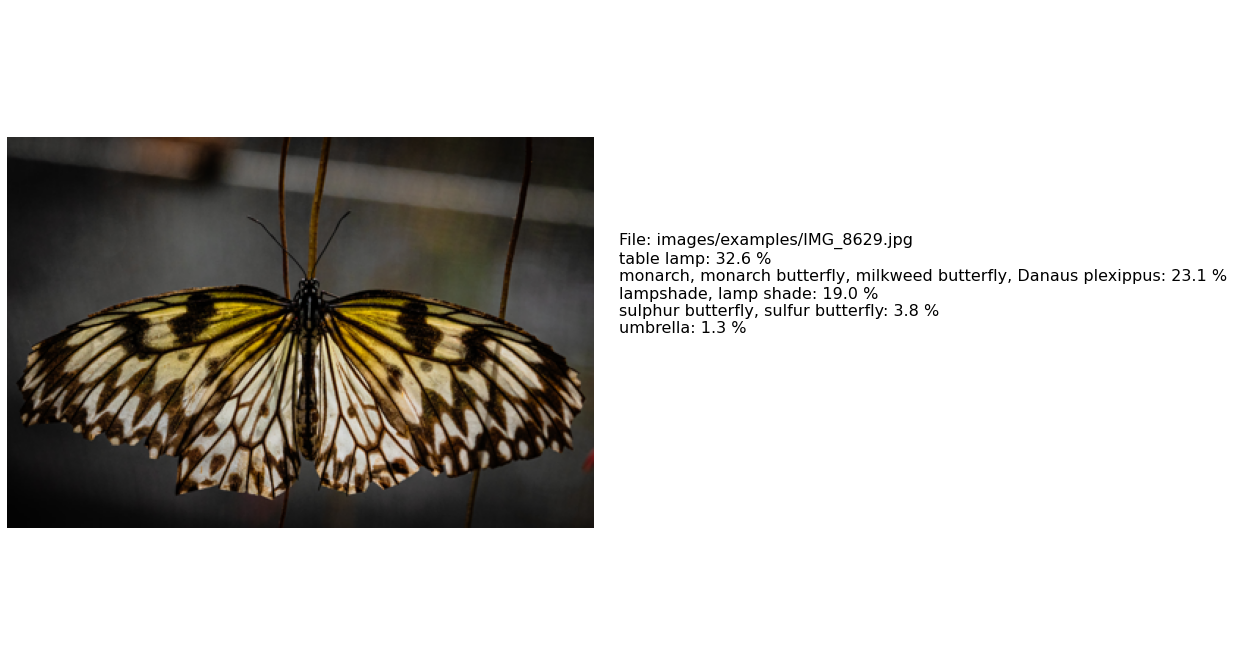
While the ImageNet dataset contained instances of various types of butterflies the top ranking label for this image is “table lamp” (also note that “lampshade” ranks 3rd).
While for the human eye it is pretty easy to identify the butterfly in the image it is plausible that the ResNet model could be confused: If one squints their eyes the shot actually slightly resembles a table lamp, especially given the particular lighting in this image. Again it would be interesting to do a bit of trouble shooting to see how the neural network comes to its decision.
Querying Images with Lowest Prediction Variance
We can find some more cases in which the neural network seems to have difficulties to make a decision by taking a somewhat more systematic approach: We can query the database for those images for which the predicted probabilities have lowest variance. This should produce images for which the predicted probabilities for a given image lie close together and therefore indicate cases where the model is uncertain about what it sees:
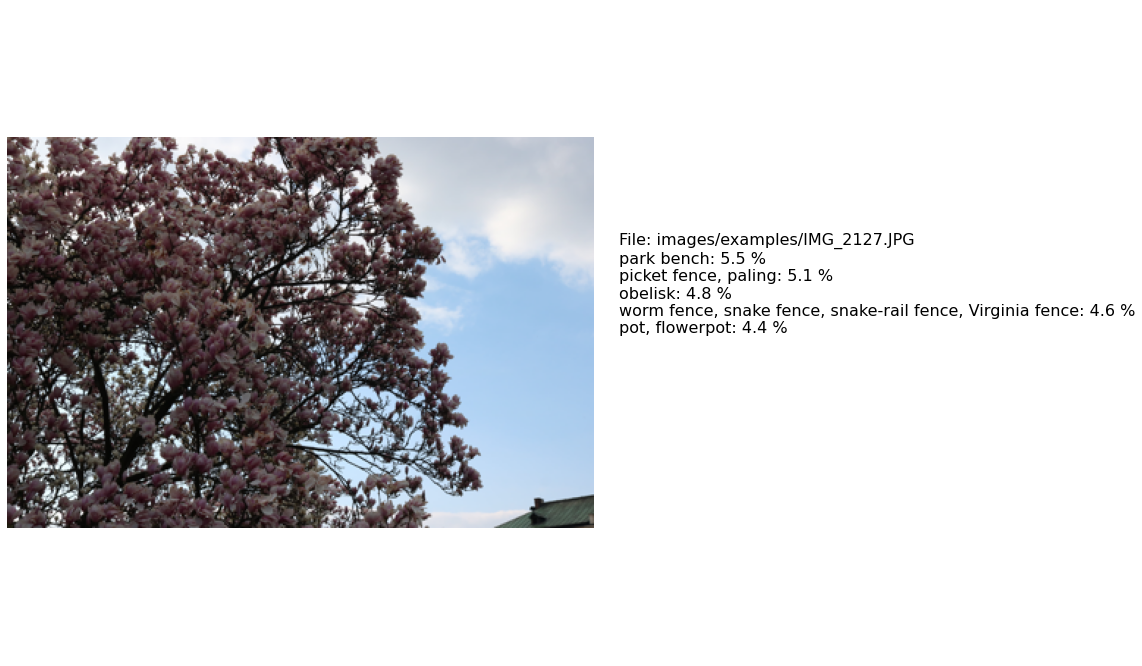
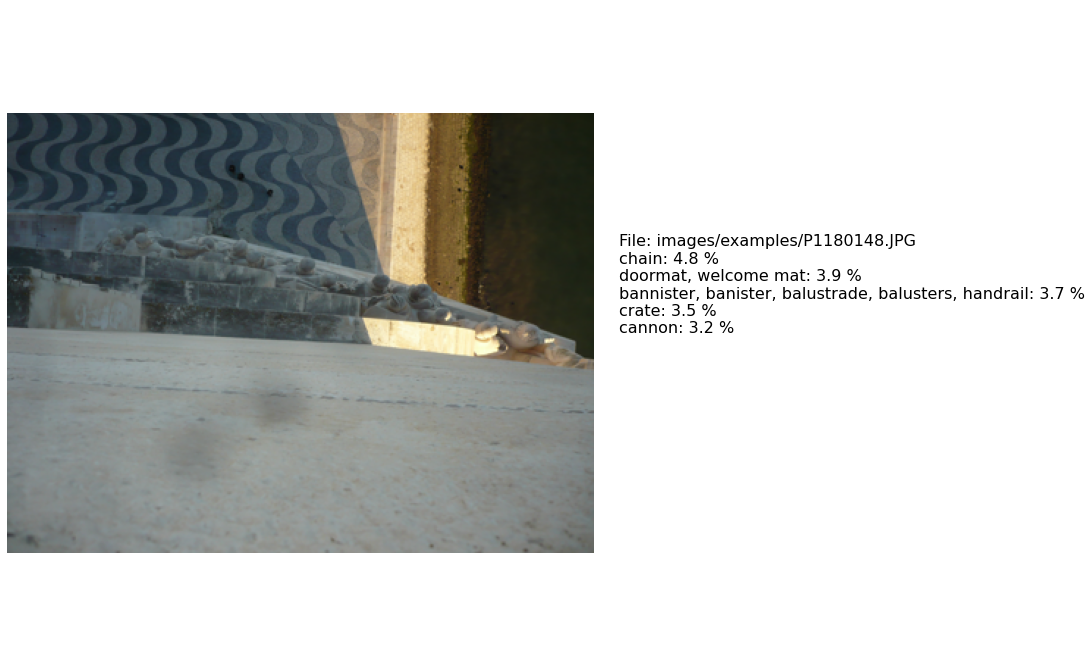
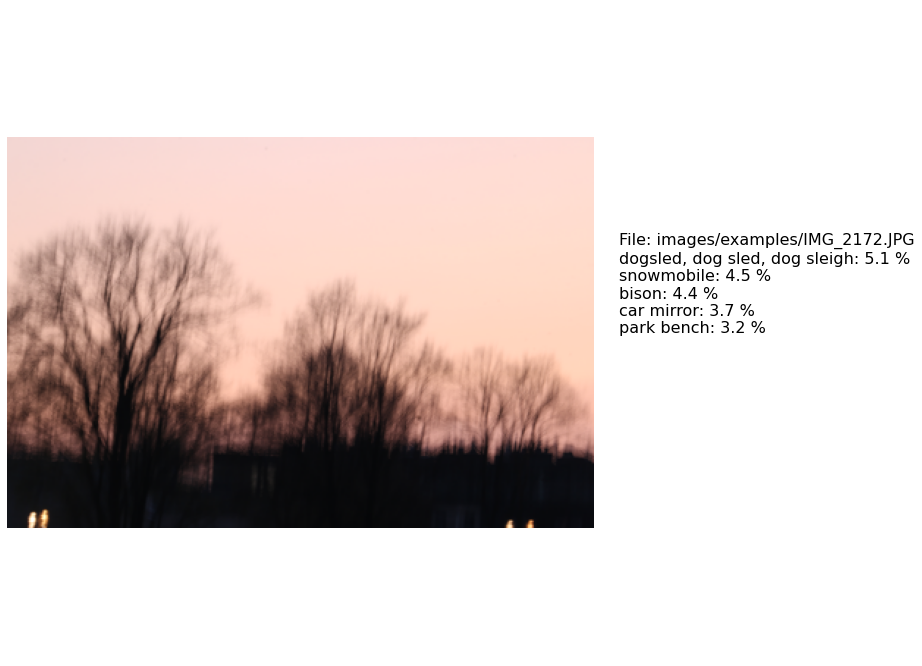
We can see that for these cases the model seems to be pretty far off: Basically none of the objects it detects were actually shown in any of the images.
However, this failure of the model is understandable in the sense that the images shown above do not have necessarily have a clearly identified, single object in them. They look like somewhat random shots for which even a human might have problems coming up with a single label that best describes them. What is more at least two of the images are of poor quality and suffer from bad lighting or blurriness.
Conclusions & Next Steps
In this blog post we presented a simple way to make a photo collection searchable by objects that they are showing. To do this we used a pretrained neural network model and overall were able to get good results.
However, we also pointed out some limitations of this approach that seem to result from the fact that we took a network that was trained on a specific dataset with a fixed list of labels and applying it to a completely different collection of images.
The application itself is a very basic and hacky implementation consisting of a command line application and a Jupyter notebook frontend. I might revisit this project in the future to improve on it. In particular it would be nice to dockerise the application and re-implement its functionality in a proper web application framework.